Make-overs / New-builds / Special Projects
Ten years paving experience
Meeting all your Paving, Paths, Borders and Driveways requirements in Bayside and beyond.
In any landscaping re-design or new home build, paving is high on the priorities list, if not on the top. Mathew Kurta and Terra Firma Gardens leads and consults with expert paving contractors to achieve functional, built for purpose and beautiful paving solutions. From meandering stepping stones in a Japanese garden, crazy paving or a classic blue stone courtyard, each application is unique and the right artisan skills should be called upon.


Mat’s tip
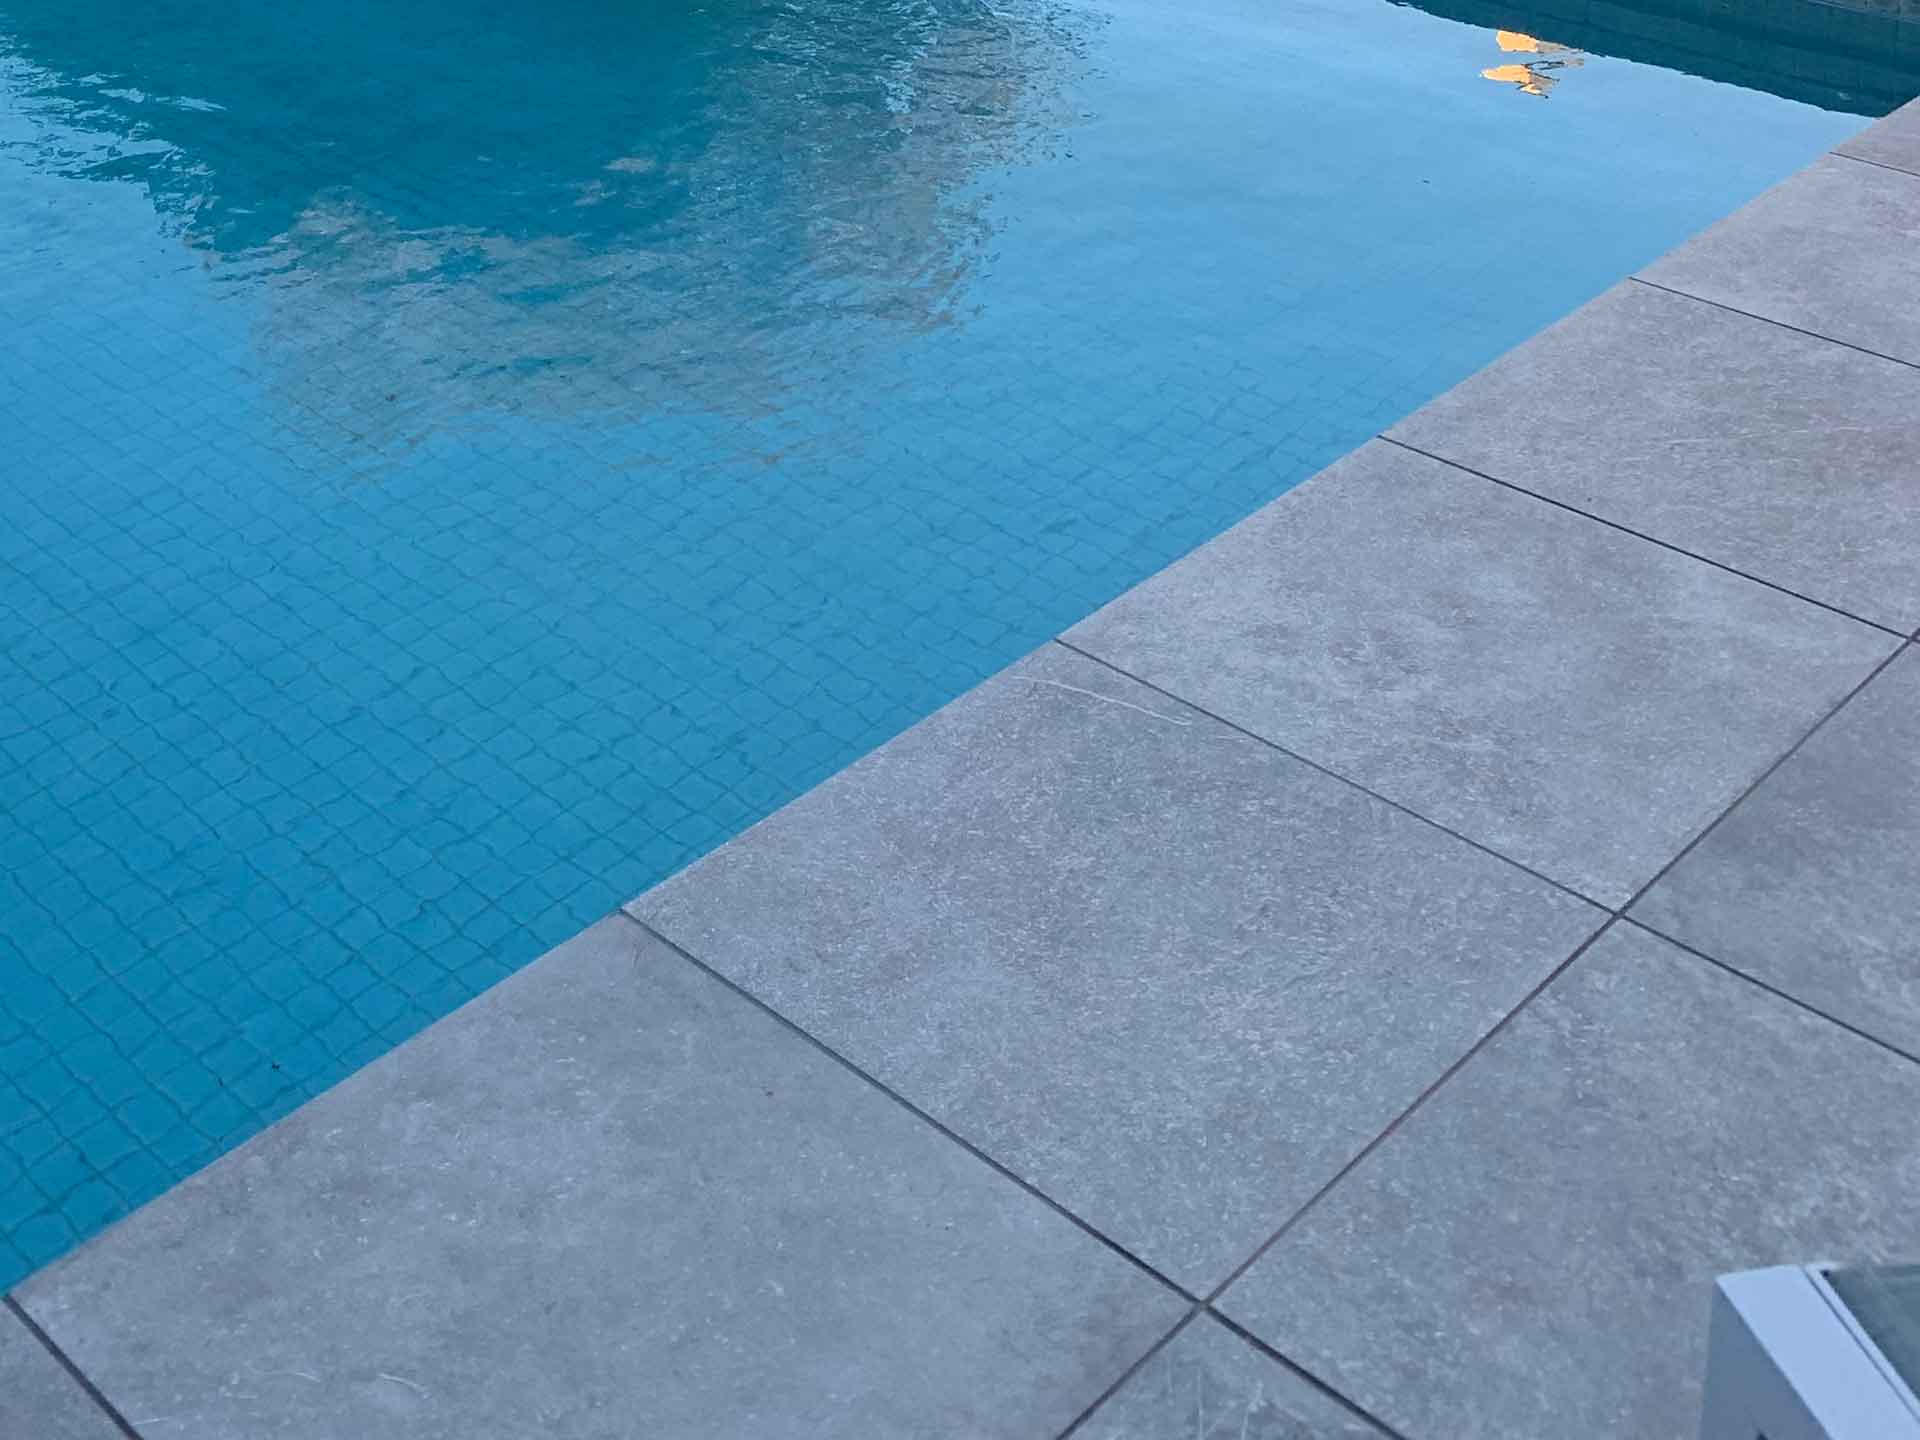
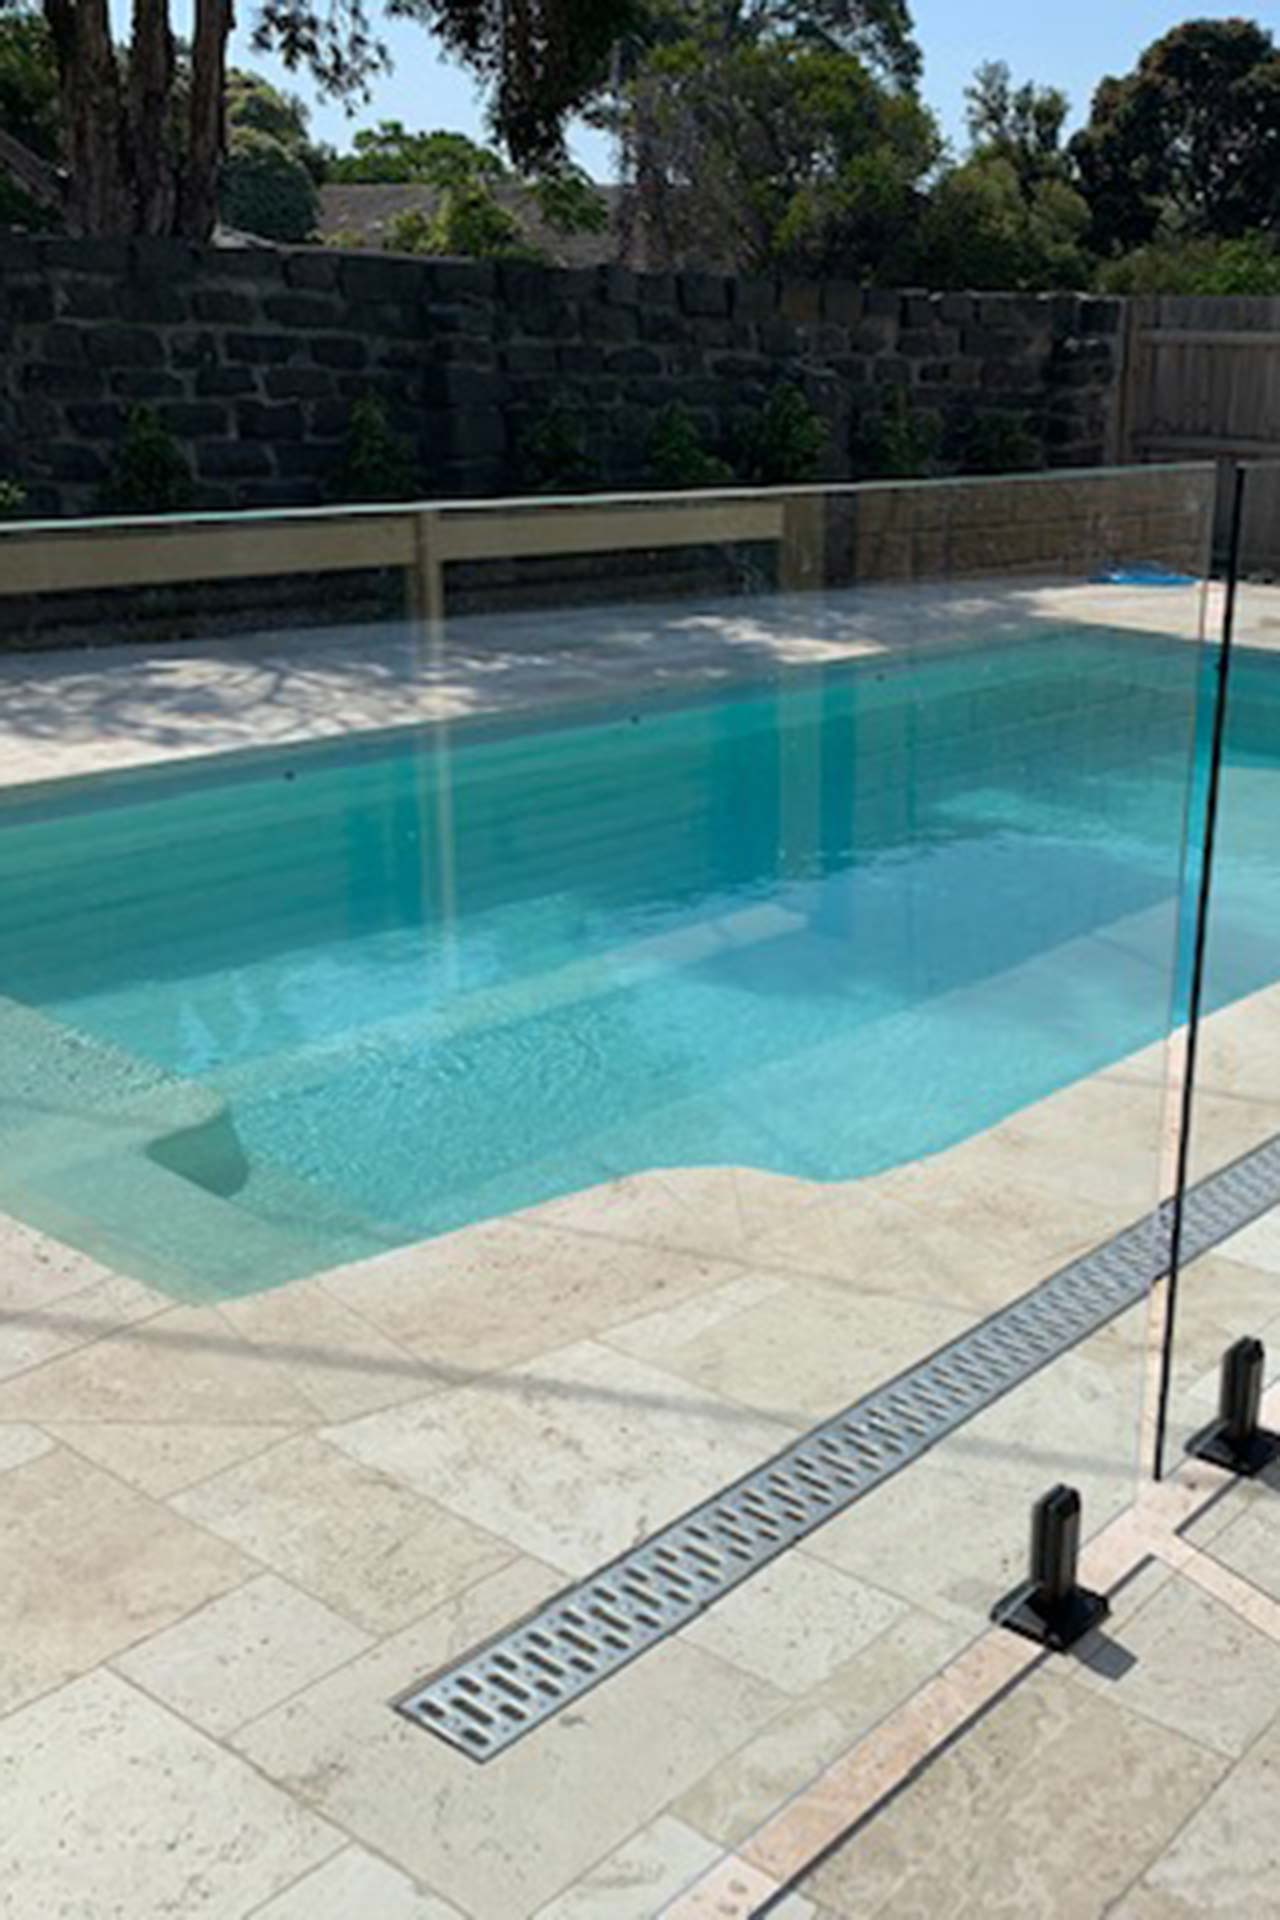
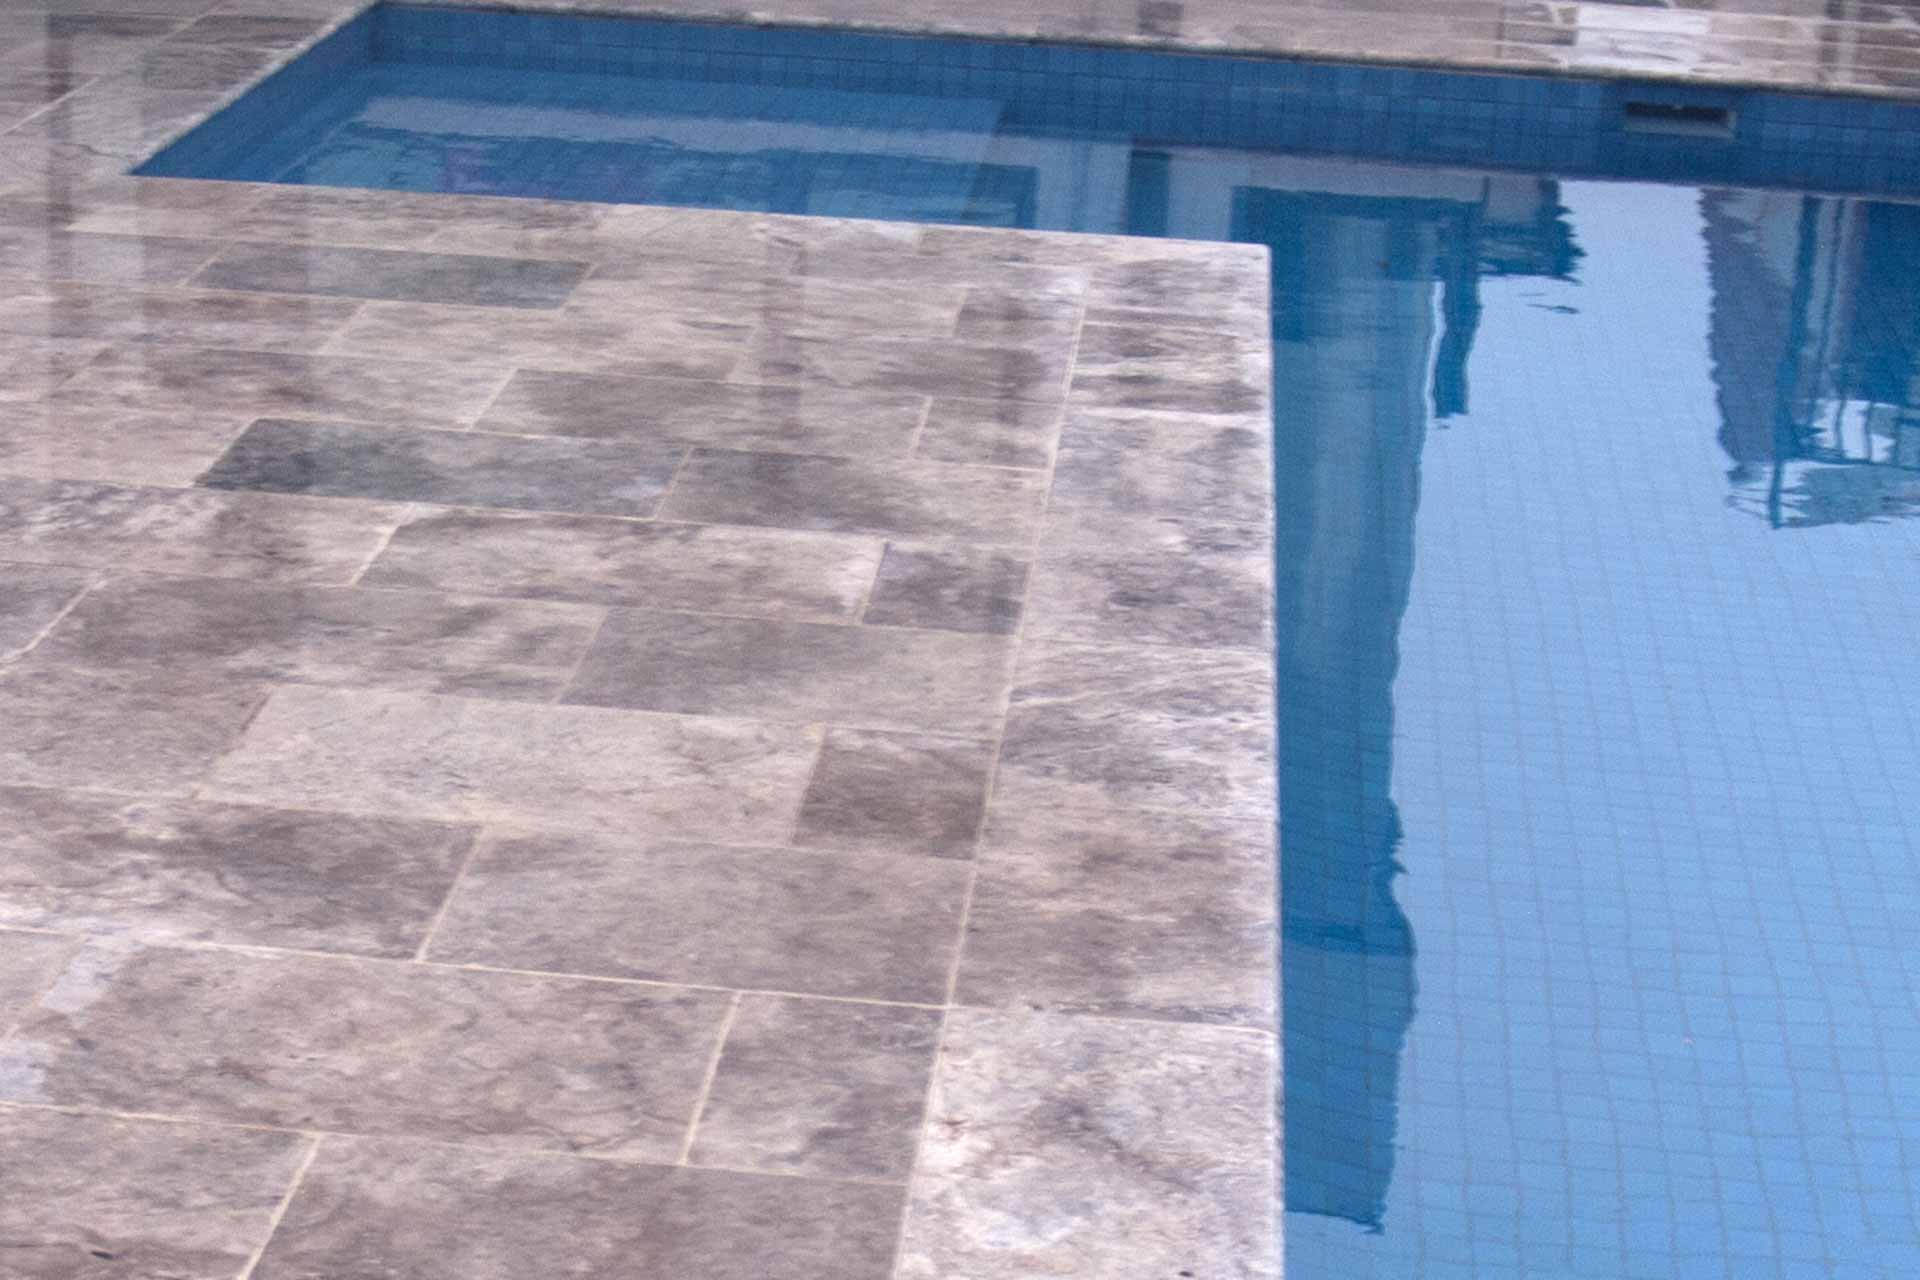
When choosing your tiles, a colour that picks up a tone in the exterior of the house can look great. Also choosing a ceramic tile can have the benefit of being already sealed and not requiring a sealing process.
Paving best practices
Our experienced paving team at Terrafirma follows 5 steps for professional results.
Step 1
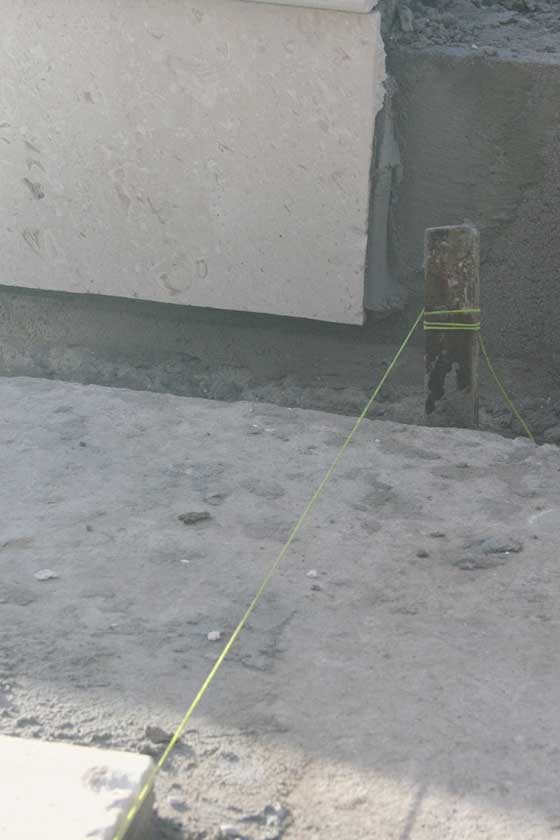
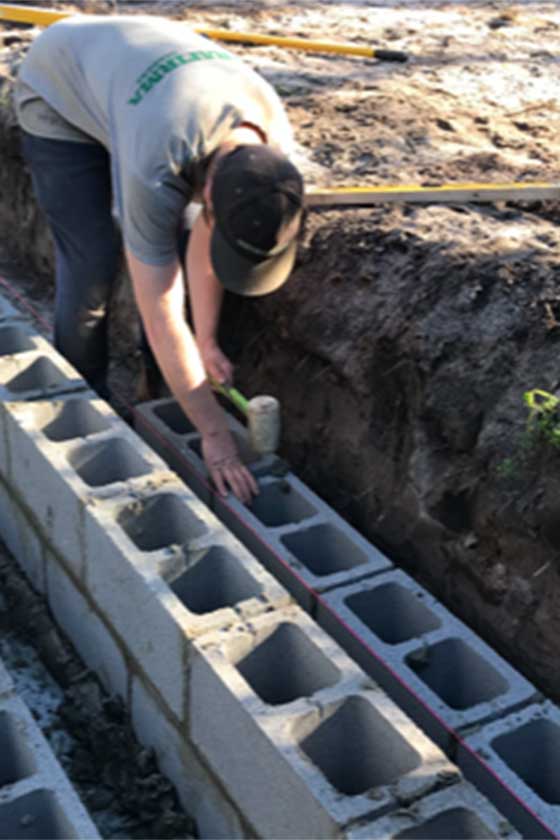
Excavation and box out
The first step in beginning most hard landscape works is the excavation of existing soil. Once determined the finished paving heights of the required area, the excavation begins to bring the ground levels down to the required pre concrete slab height. The excavation depth, we generally allow: 90mm-100mm for concrete, 30mm mortar bed, as well as the thickness of the paver. Once area is excavated, we run string lines for height and line for the area to be concreted. Using 90mm timber for formwork, pegs are hit into the ground (keeping clear of all underground pipes and cables) as required along the back of the timber. Formwork is lifted and screwed to the required height and held firmly in place to ensure formwork does not move or lift when concrete is poured. After concrete is poured, levelled (screeded) to desired heights, we allow a day for concrete to cure before de boxing and begin paving.
Step 2
Planning and set out
Probably the most important part of all paving works. Time is taken to measure and set out paved area to ensure that pavers are laid square with existing walls, grout lines and pavers work to required space and all areas fall towards drains and away from dwellings. Guaranteeing that pavers are able to be laid within industry standards.
Step 3
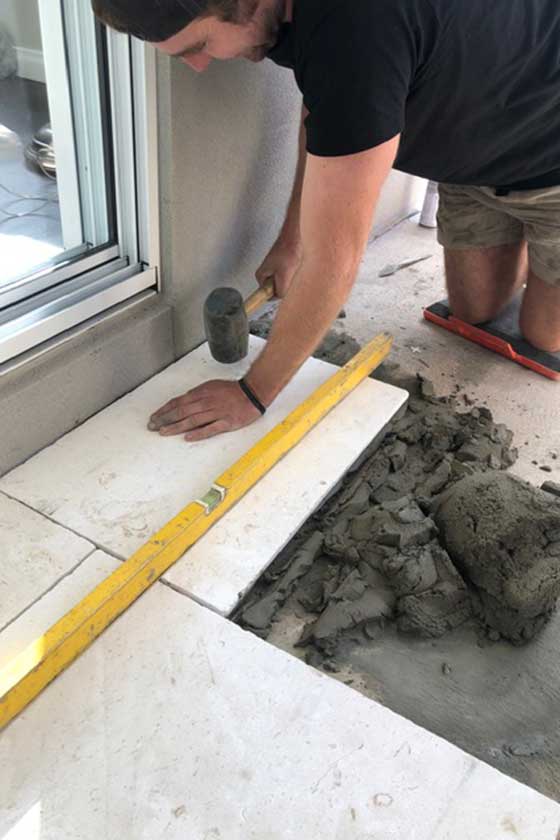
Mortar bed and laying pavers
The area is swept/blown clean of any loose grit and dirt that may be on the concrete. Mortar is then placed down and spread to desired height Paver is checked to ensure no edges are chipped or have been damaged in transit. The back of the paver is then pasted with a mixture made up of, water, cement, bond-crete (bonding agent) and plasticiser. This helps the mortar adhere to the paver. Paver is then placed on mortar bed, tapping down softly with a rubber mallet so that the paver is now bedded in to the mortar. Paver is then sponged clean and we move along to the next one.
Step 4
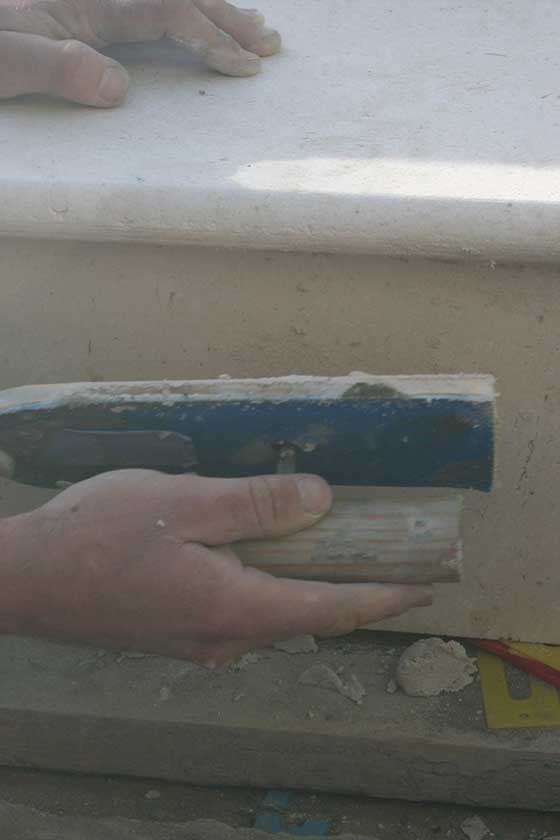
Grout and clean
If required, we run a small grinder through some grout joins to open them up a little bit. As pavers do vary in size a couple of millimetres. This ensures consistent sized grout lines. Then pavers are swept and grout lines blown out of all left over dust and grit, paving pad is sponged off if required. A cement based flexible grout product is mixed to desired consistency. This product allows for movement to ensure the grout lines have less of a chance of cracking. Grout mixture is pushed into the empty lines, excess is wiped off and then grouted section is sponged clean in a diagonal motion, making sure not to drag the grout out of the joins. Sponging off the entire paver in the process, leaving the area clean of any excess grout.
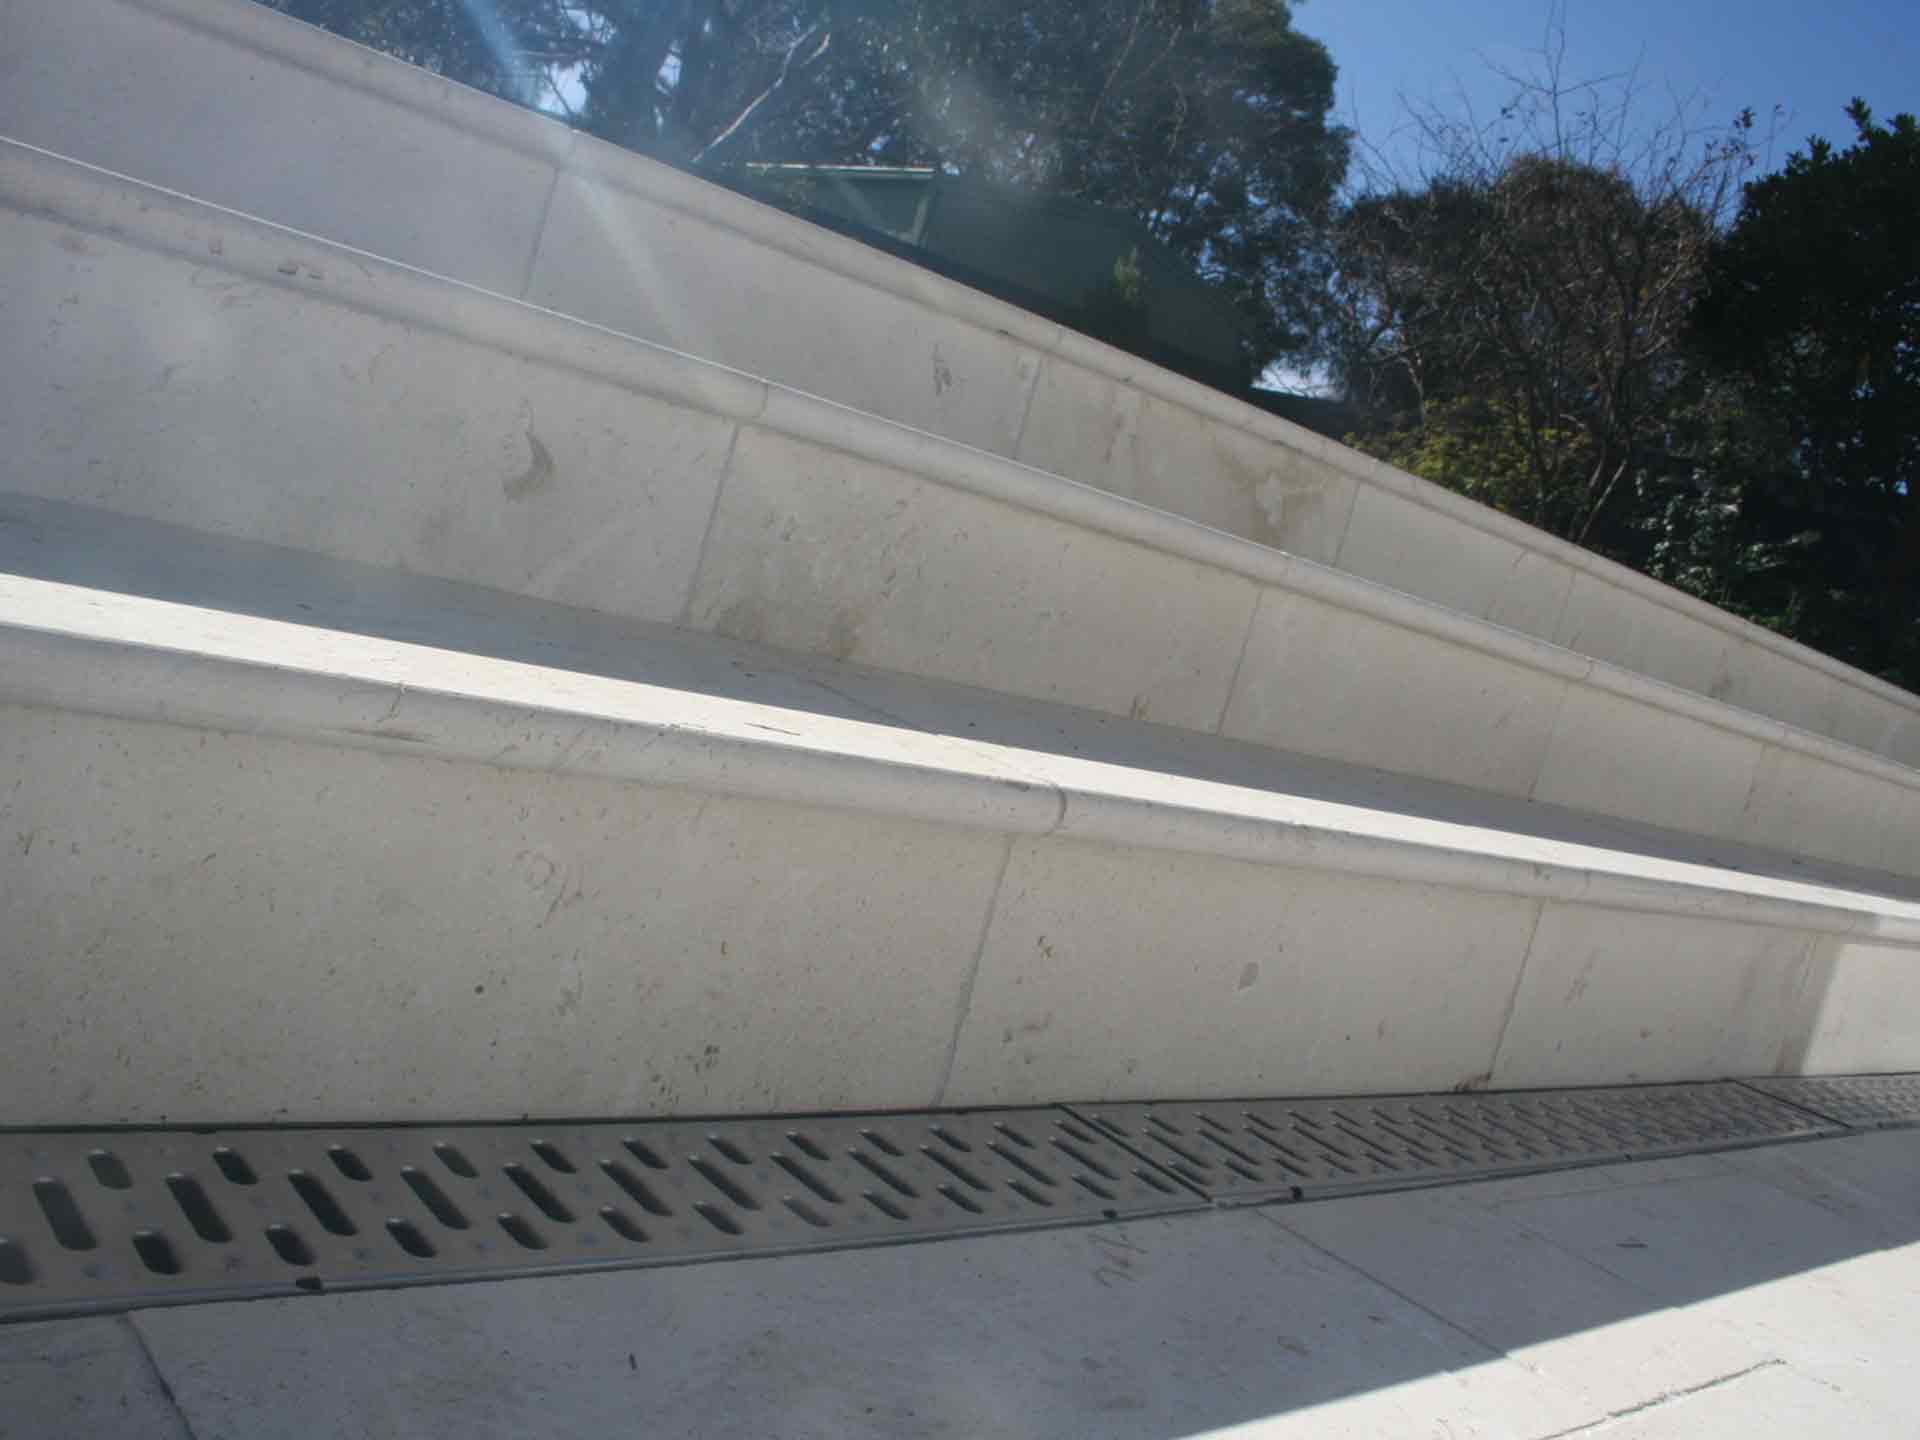
Step 5
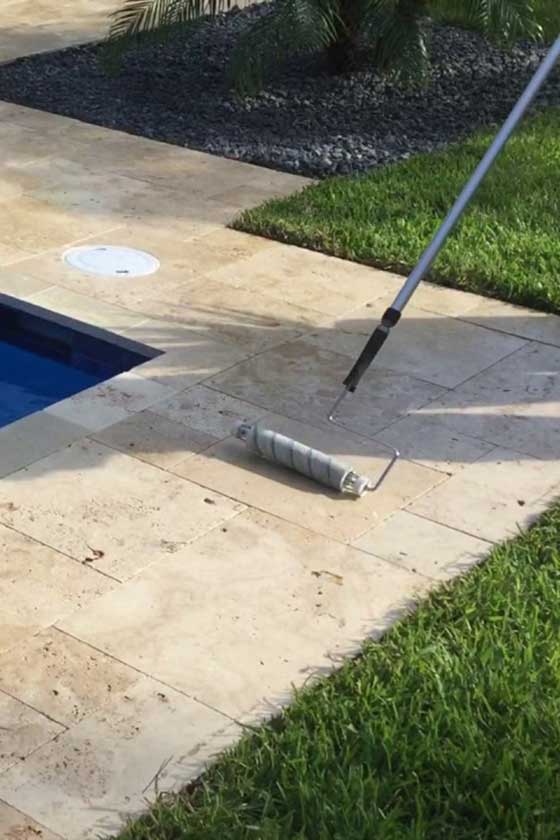
Final sealing process
Pavers are pressure washed and completely dry before sealing. Before sealing whole area, a test is done on a left over paver or in an area not noticeable to ensure the sealer doesn’t have an undesired reaction to the paver. If all good, sealer is installed using a paint roller and paint brush to cut in areas close to walls and dwellings. Following the directions on sealing product for drying time between coats and walking on.